
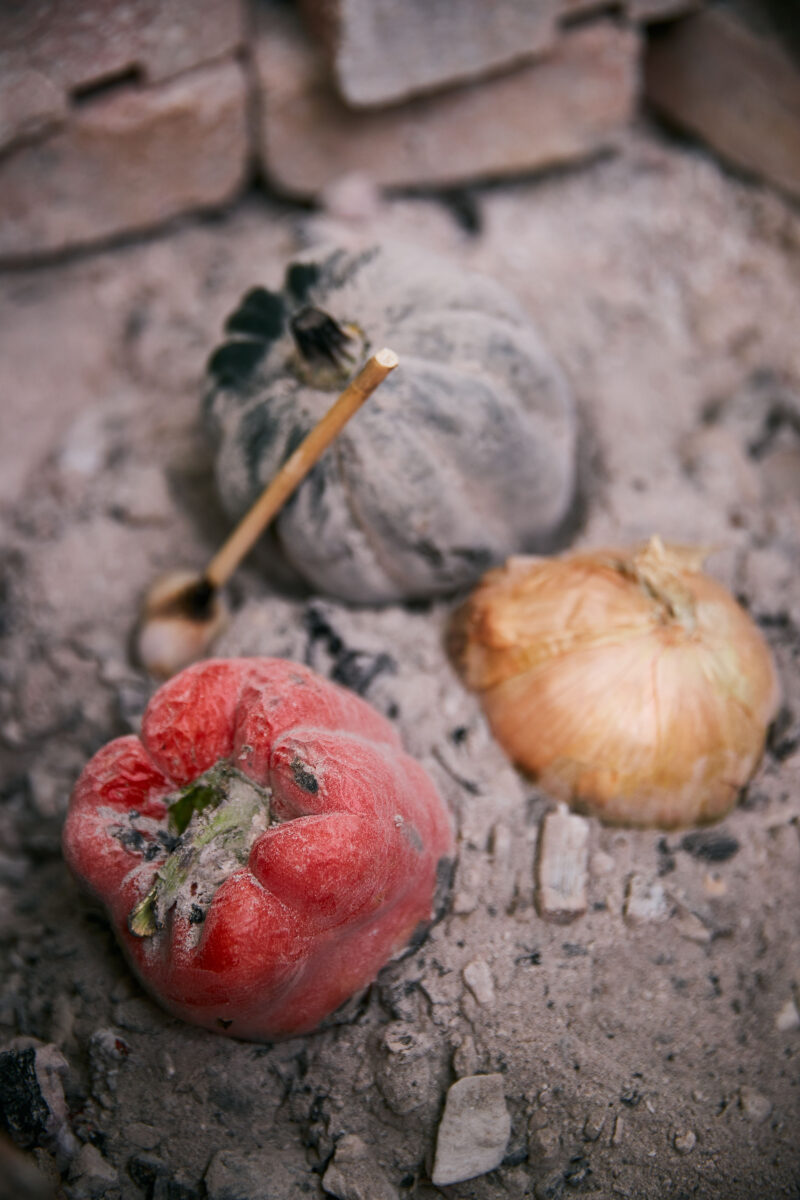
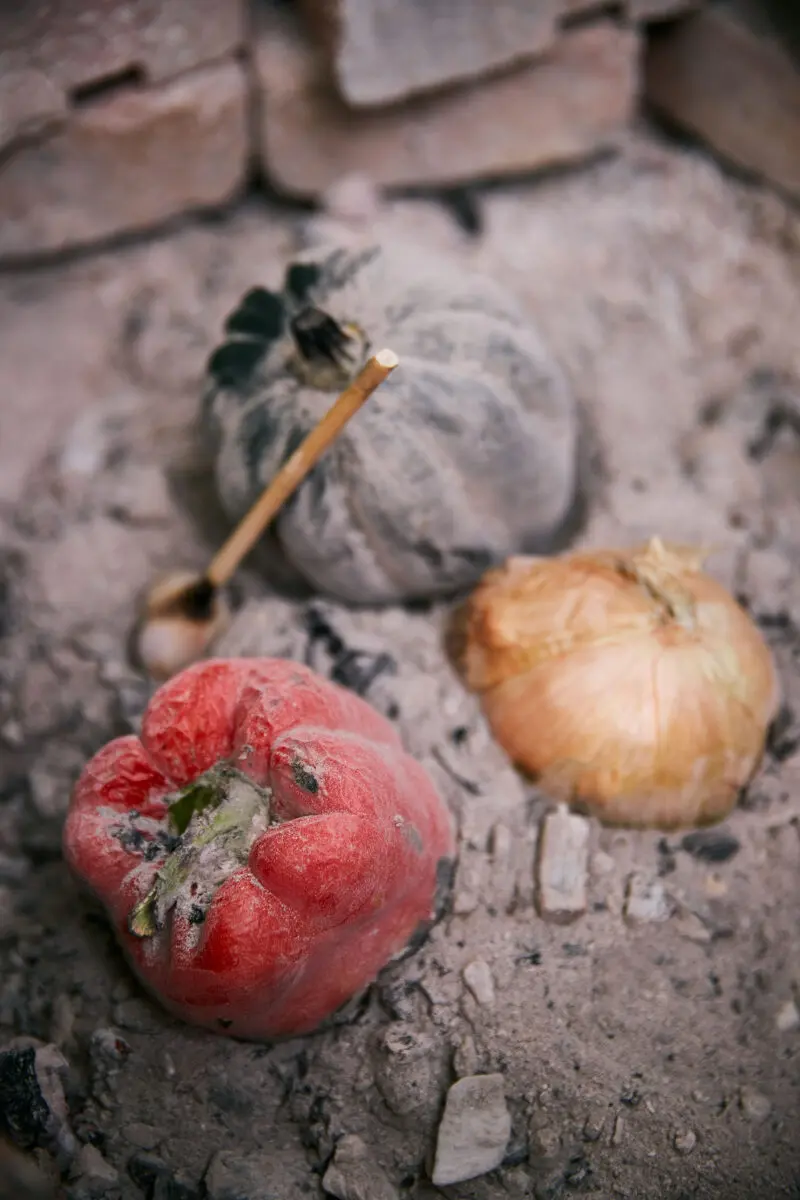
Ember roasting is, in my opinion, the best way to cook a vegetable. No pan, no grate, no oil — you put the thing straight into the coals and let the fire do all of it. Some people call it caveman grilling, which is exactly right: it is the oldest cooking method there is, and nothing you do in an oven comes close.
Under a completely blackened skin you find flesh that has steamed inside its own peel, concentrated, sweet and faintly smoky. Onions turn to jam. Beets taste like they were candied. A squash buried in embers is better than any squash that ever saw an oven. Here is how to do it, which vegetables to choose, and how to char peppers properly along the way.
❤️ Why You’ll Love Ember Roasted Vegetables
- No pan, no grate, no oil. The vegetable goes straight into the coals and the fire does the rest — one of the oldest fire cooking methods there is.
- One fire, a whole meal. Potatoes, onions, beets and squash can all roast in the same bed of embers at the same time.
- Almost nothing to wash. Split, dress and eat straight off the skin.
- Built for the road. Most of these vegetables hold two or three days at room temperature, so you can buy them at a farm stand on the way.
- Works at home too. Any open fireplace with a real bed of embers does exactly what a campfire does.
- Leftovers are not an afterthought. Cold roasted beets and squash go straight into a salad, and leftover roasted garlic improves almost anything.
🔥 What Are Ember Roasted Vegetables?
Ember roasting works for almost any food — eggs, fish, meat — but vegetables are where it really shines. Onions, pumpkins, artichokes, potatoes, peppers and eggplants go directly onto the embers with their skin on, or wrapped in aluminum foil if you prefer.
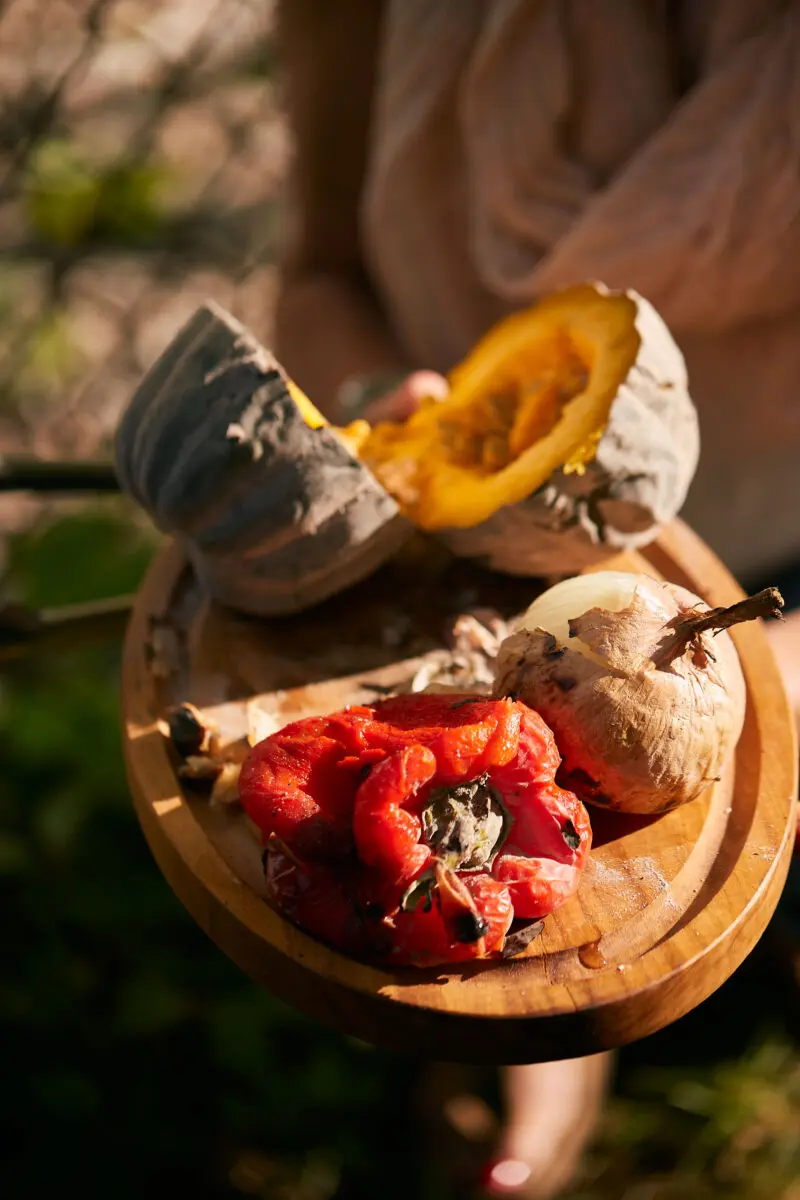
The vegetable is cooked when it looks completely deflated and feels very tender. Under the charred surface hides soft flesh with a taste that only smoke and intense heat can give it. That is the whole technique. There is nothing else to learn.

🥕 Camping Means Great Vegetables
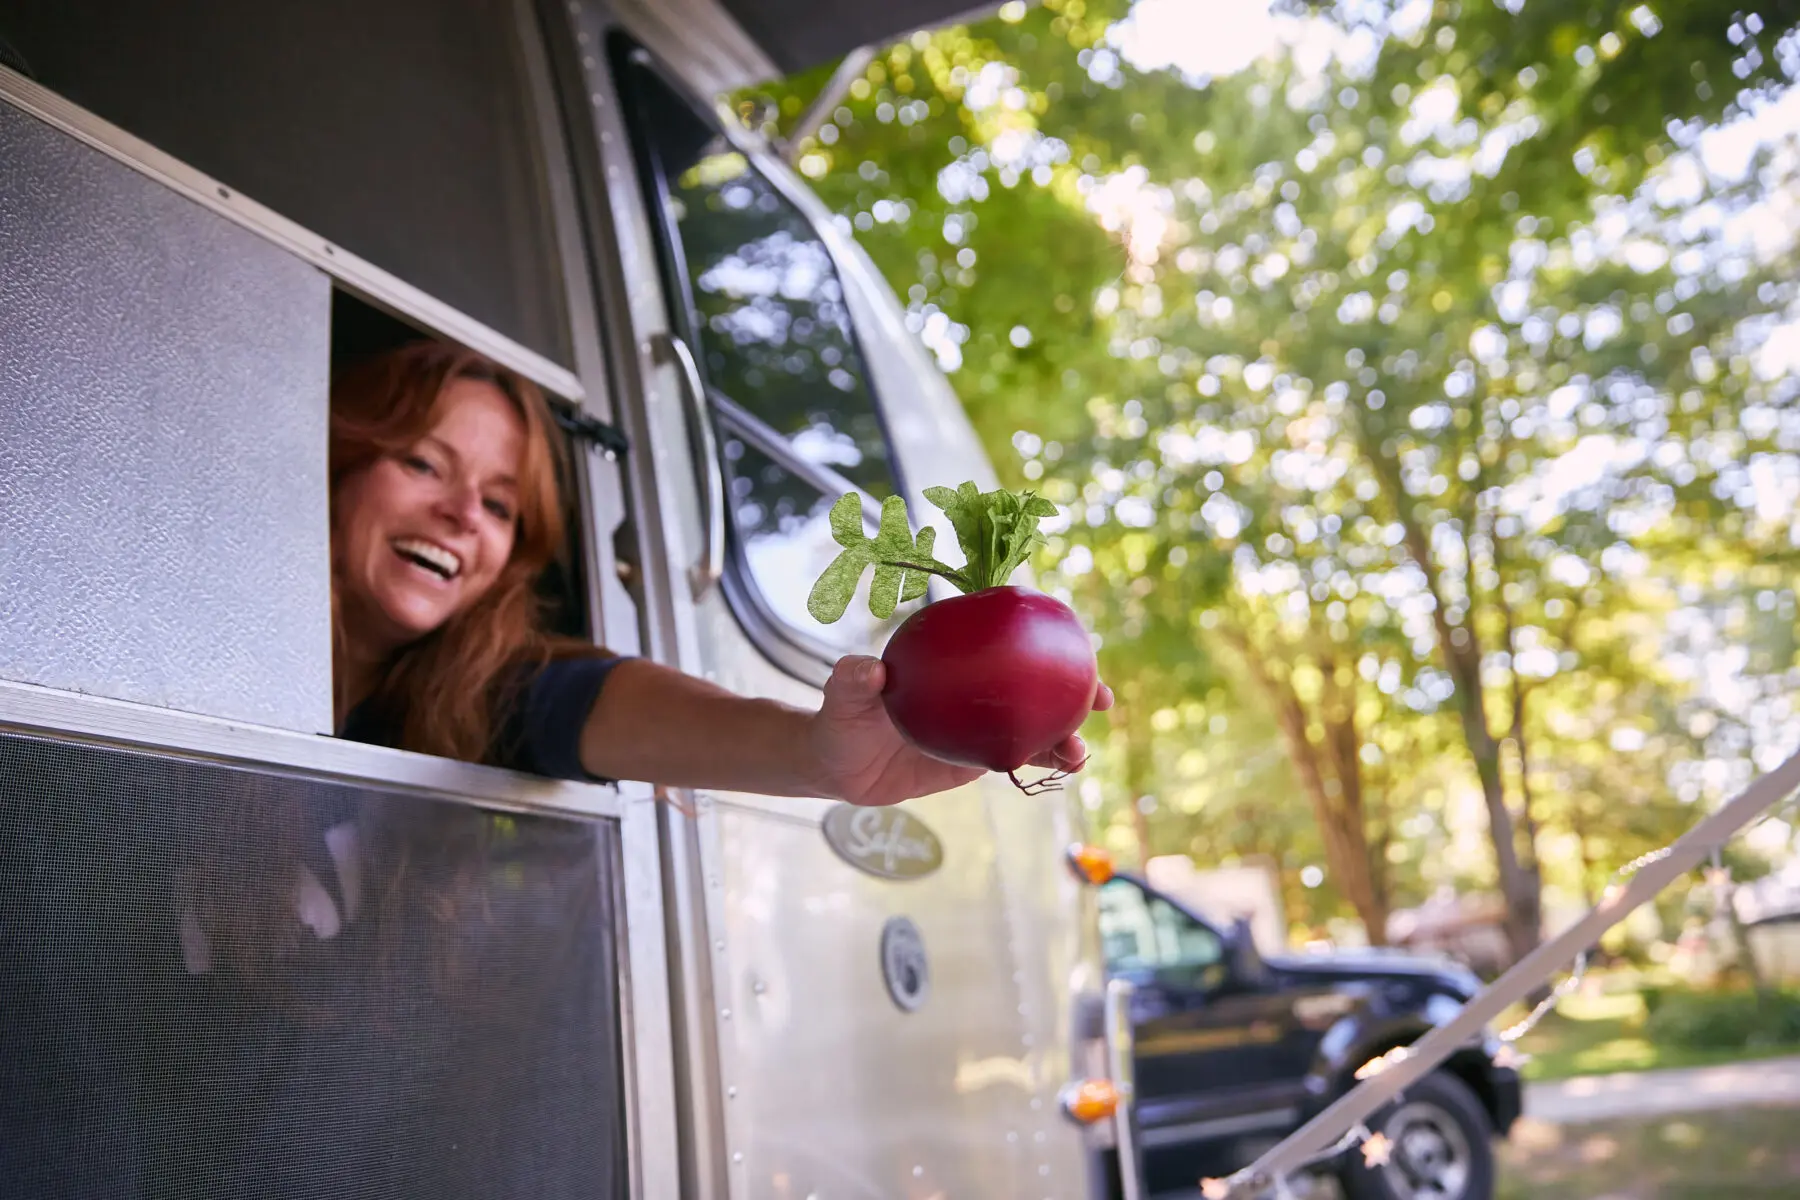
Camping season lines up almost exactly with fresh vegetable season. A short stop at a farm stand on the way is the beginning of one of the best vegetarian feasts you will ever eat.
Space is the constraint when you’re cooking outdoors, and vegetables take up a lot of cooler room. So the preference goes to vegetables bought on the road that same day, or to vegetables that keep happily at room temperature for a few days.
These will all hold two or three days with no worries:
- Potatoes and sweet potatoes
- Carrots
- Leeks
- Beets
- Cabbage
- Onions
- Rutabagas
- Daikon and turnips
🧅 Which Vegetables Are Best for Ember Roasting?
You want a relatively thick skin and a high water content. The skin is the cooking vessel — it chars, it protects, and it peels away at the end. A thin-skinned vegetable like a tomato simply cannot survive it.
Vegetables that cook beautifully in embers:
- Onions — whole, unpeeled. They collapse into something close to jam.
- A whole head of garlic — sweet, spreadable, worth doing every time.
- Potatoes and sweet potatoes
- Beets and rutabagas
- Squash and pumpkin — the best of the lot


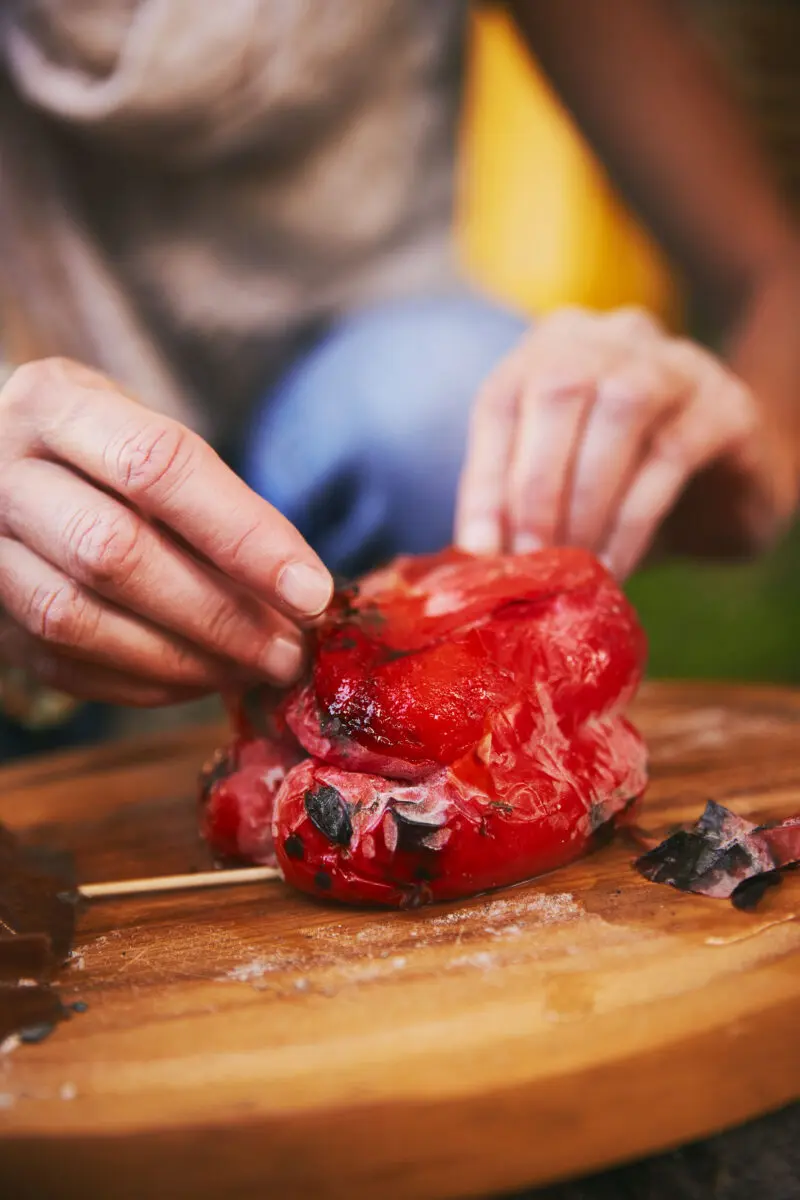
🌶️ Ember Roasted Red Peppers
Raw peppers are good. Caramelized peppers are better. And the campfire is the perfect place to deal with the one problem peppers have: the skin, which is famously hard to digest.
Place the whole peppers directly on a nest of embers. Turn each one as the side in contact with the coals starts to blacken, until you have gone all the way around. If the skin bursts in a few spots, do not worry — your ash is clean. 🤣
Once they are well charred on every side, pack them into aluminum foil or a paper bag and let them sweat for about ten minutes. The skin then slips off with your fingers.
🎃 My Favourite Ember Roasted Vegetables
I have a few favourites — potatoes, carrots, rutabagas — but my absolute favourite is the squash family.
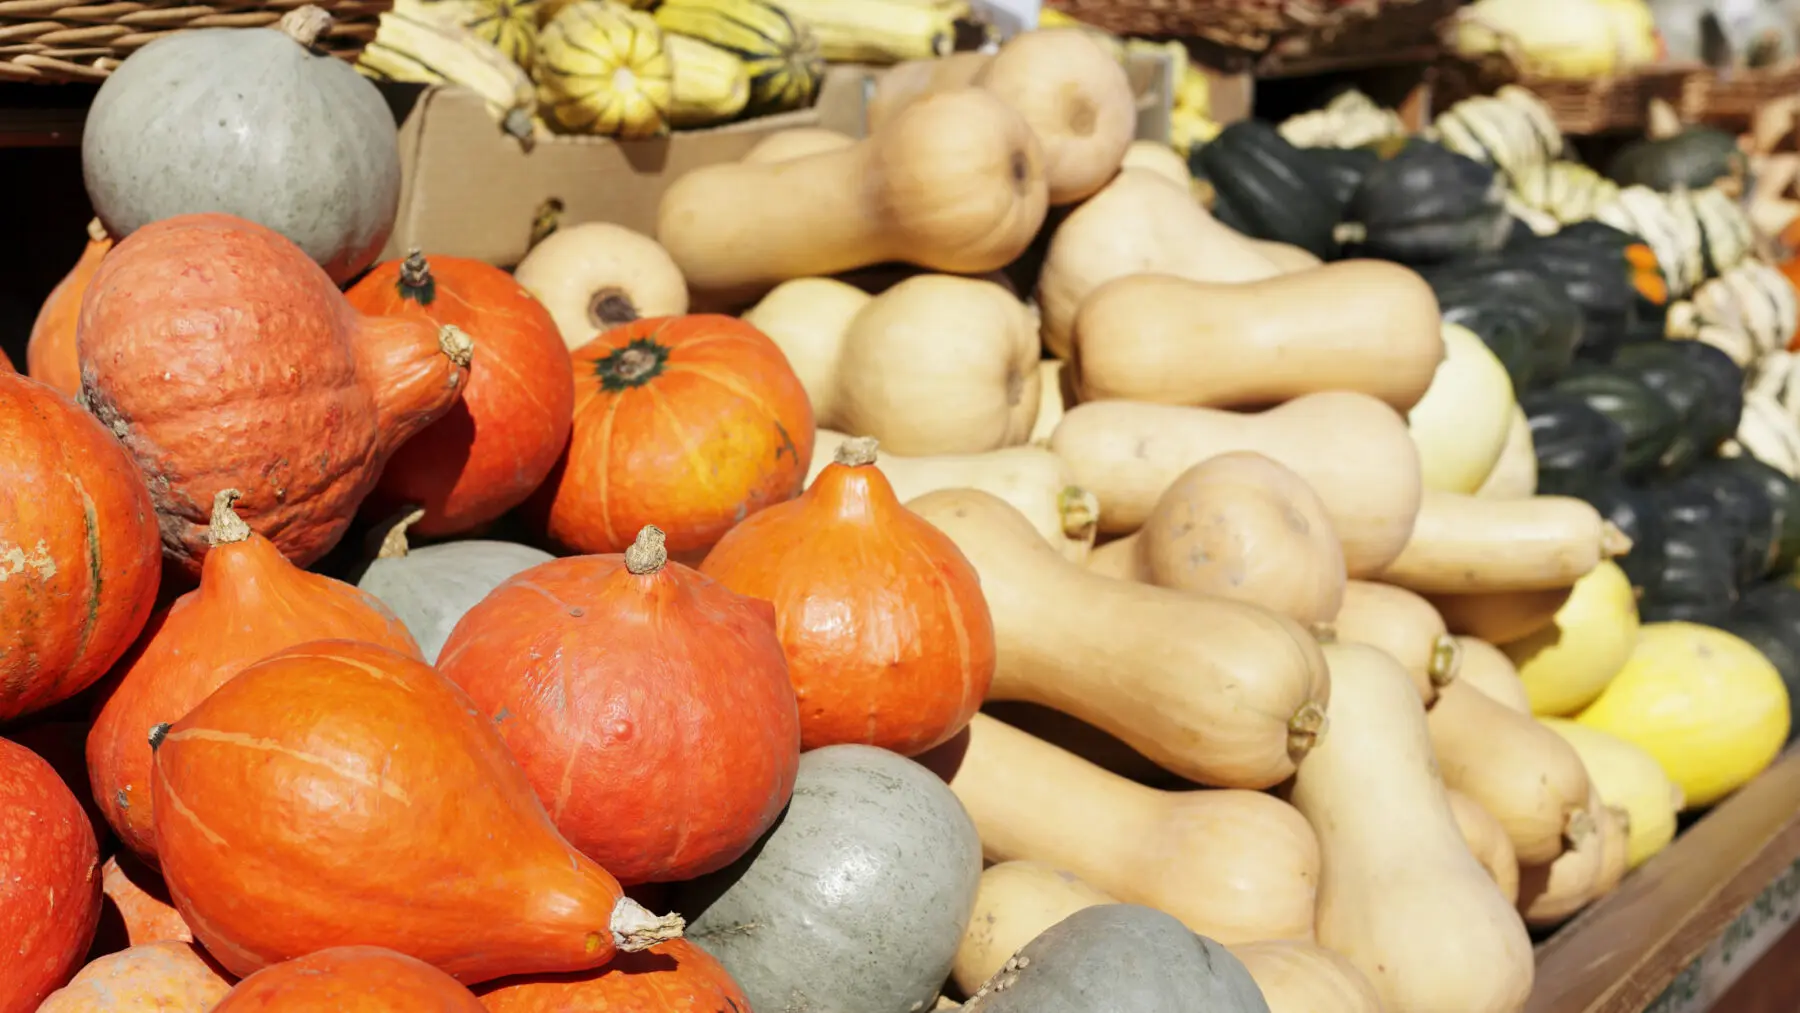
When fall arrives and campfire season is winding down, I know it is squash time. Everybody knows pumpkins: they are great for Halloween, and that is about all most people do with the family. There are literally hundreds of types of squash and every one of them is good oven roasted. But better than oven roasted squash is ember roasted squash, and it is one of the easiest things you can possibly do in a fire.

Last fall I rented a house in Brittany, France with my mother. A beautiful little farmhouse — and the reason I chose it over every other one was the open fireplace in the kitchen. My dream. Needless to say, the fire was going all day.
I cooked a great deal of squash in there. It could not be simpler: keep a good fire going long enough and you get plenty of embers. Bury the squash in them and leave it until it is skewer tender, or even touch tender. You cannot go wrong. That’s exactly the stretch where I open the Pschitt and leave the coals to do their job.
🧑🍳 Manon’s Tips for Ember Roasting Vegetables
- Wait for embers, not flames. You need a deep bed of glowing coals built over an hour or more of steady burning — see my guide on building a fire if you’re starting from scratch.
- Read the ash, not the clock. The embers are ready when there are no flames left, the coals glow orange-red under a light grey ash, and you can’t hold your hand over them for more than a second or two.
- Reach for hardwood. A good hardwood fire takes about an hour to burn down to the deep, even bed this technique needs.
- Don’t skip the sweat. Once peppers are charred on every side, bag them in foil or paper for about ten minutes — the skin slips off with your fingers instead of fighting you.
- Season after you peel, not before. Oil on the skin just burns, and salt can’t reach the flesh through the peel anyway.
- Tend the fire, don’t walk away from it. A bed of embers stays hot for hours, so keep it contained and never leave it unattended — the campfire safety basics are worth a read if you’re new to cooking this way.
🍽️ How to Serve
Brush off the ash, split everything open and dress it hot: good olive oil, flaky salt, a grind of pepper. Butter melting into a split potato. A squeeze of lemon on the squash. Soft roasted garlic squeezed out of its skin and spread on bread that has been warmed at the fire.
Served together on one board, this is a whole meal — and one of the few campfire dinners that leaves nothing to wash.
❄️ Storage
Ember roasted vegetables keep three days in the refrigerator, and several of them are better the next day. Peeled roasted peppers keep a week covered in olive oil. Cold roasted beets and squash go straight into a salad, and leftover roasted garlic will improve anything you put it in.
🔄 Variations and Swaps
No open fire tonight? A covered cast iron pot nested right in a wood-stove bed of coals, or set into a fireplace, gets you close to the same result at home. Short on a full spread of vegetables? Any two or three from the list above roast together just as well as all of them — there’s no minimum. And if you want it richer, finish with browned butter instead of olive oil; it does wonderful things to a split potato or a squeezed head of garlic.
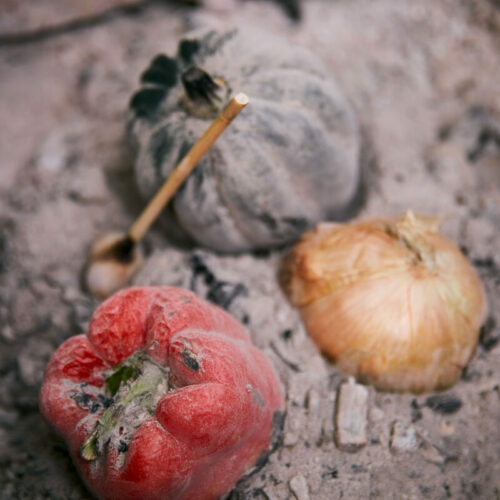
Ember Roasted Vegetables (Caveman Veggies)
Equipment
- 1 fire pit or open fireplace
- 1 shovel or long tongs
- 1 skewer to test for doneness
Ingredients
Choose your vegetables
- 4 potatoes or sweet potatoes, scrubbed, skin on
- 4 onions unpeeled, root end trimmed flat
- 1 head garlic whole, unpeeled
- 4 beets or rutabagas scrubbed, skin on
- 1 small winter squash whole, or halved if large
- 2 red peppers whole — red, orange or yellow
To finish
- good olive oil to drizzle
- flaky salt to taste
- pepper freshly ground
- butter, herbs or lemon optional, to serve
Instructions
Build the ember bed
- Keep a fire going long enough to produce a deep bed of glowing embers — an hour or more of steady burning. You want embers, not flames: the heat should be intense and even, with no fire licking upward.
- Rake the embers into a nest with a shovel or a stick, leaving a hollow in the middle.
Root vegetables, onions and garlic
- Set the vegetables directly on the embers, skin on. Do not peel, do not oil, do not wrap — the skin is the cooking vessel. Wrap in aluminum foil only if you prefer a cleaner, steamier result.
- Rake some embers up around and over them and let them cook. Turn them once or twice so every side spends time against the heat.
- They are done when the skin is charred and the vegetable looks completely deflated and feels very tender — skewer tender, or even touch tender. Under the blackened surface you will find soft flesh with a taste the fire gave it. Count roughly 20 to 30 minutes for onions and potatoes, 30 to 45 for beets, rutabagas and squash, depending on size and on how hot your embers are.
Whole squash
- Bury a small winter squash in the embers and leave it there until a skewer slides in with no resistance. Halve it, scoop out the seeds and serve it straight from the shell.
Peppers
- Set whole peppers directly on a nest of embers. Turn each one as the side in contact with the embers blackens, until you have gone all the way around. If the skin bursts in spots, do not worry — your ash is clean.
- Pack the charred peppers into aluminum foil or a paper bag and let them sweat for about ten minutes. The skins will then slip off with your fingers.
Serve
- Brush the ash off, split the vegetables open and dress them while hot with good olive oil, flaky salt and pepper — or butter, herbs, or a squeeze of lemon.
Notes
- Wrapping vegetables in foil
- How long ember roasting takes
- Whether the charred skin is safe to eat
- Cooking in a fireplace at home
- Which vegetables to avoid
- Oiling or seasoning before roasting
- How to tell when the embers are ready
- Whether to peel vegetables before roasting
- Roasting different vegetables together
- Green peppers
❓ Frequently Asked Questions
Do I need to wrap the vegetables in foil?
No. Straight on the embers gives you real smoke and char, and the skin protects the flesh. Foil gives a milder, steamier result and a tidier peel. Both work — it is a question of what you want.
How long does ember roasting take?
Roughly 20 to 30 minutes for onions and potatoes, 30 to 45 for beets, rutabagas and squash. But ember heat varies enormously, so judge by tenderness rather than by the clock.
Is the charred skin safe to eat?
You do not eat it — you peel it off. The blackened skin is the sacrificial layer that protects and steams the flesh inside.
Can I do this in a fireplace at home?
Yes, and it is wonderful. Any open fireplace that produces a real bed of embers will do exactly what a campfire does.
Which vegetables should I avoid?
Anything thin-skinned or low in water: tomatoes, zucchini, mushrooms, leafy greens. They scorch before they cook. Those belong in a pan or in foil.
Do I oil or season the vegetables first?
No. Season at the end, after peeling. Oil on the skin just burns, and salt cannot reach the flesh through the peel anyway.
How do I know the embers are ready?
No flames, coals glowing orange-red under a light grey ash, and heat you cannot hold your hand over for more than a second or two. Usually an hour after lighting a good hardwood fire.
Do I need to peel the vegetables before roasting?
No — leave the skin on. It is the cooking vessel: it chars, protects the flesh inside, and peels away easily once the vegetable is done.
Can I roast different vegetables together in the same fire?
Yes, and it’s the whole point. Potatoes, onions, beets and squash can all go into the same bed of embers at once and come out together on one board for a full meal.
What’s wrong with green peppers?
Nothing is technically wrong with them, but I stick to red, orange and yellow. To me green peppers are just unripe ones, and I’d rather wait.